
If you're new to soldering, the process can seem daunting. Fear not! With the right tools and a step-by-step approach, you can quickly learn the art of soldering. In this article, AiXun will provide essential soldering iron tips for beginners to getting started with a soldering iron. So, let's dive in and explore the exciting world of soldering!
Step 1: Gather the Necessary Tools and Equipment
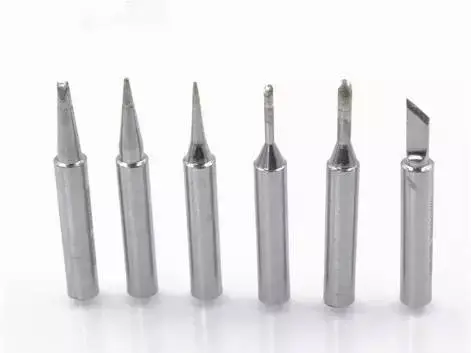
Before you begin soldering, it's important to have the right tools and equipment on hand. Here's a list of the essentials:
Soldering iron: Choose a soldering iron that suits your needs, preferably one with adjustable temperature settings.
Solder: Opt for a lead-free solder with a diameter appropriate for your project.
Soldering iron stand: A stand helps to safely hold the soldering iron when not in use.
Soldering sponge or brass wire cleaner: These help in cleaning the soldering iron tip.
Safety goggles: Protect your eyes from any soldering debris or accidental splatters.
Workbench or heat-resistant surface: Ensure you have a stable and safe surface to work on.
Ventilation: It's crucial to work in a well-ventilated area to avoid inhaling harmful fumes.
Step 2: Prepare Your Workspace
Setting up a clean and organized workspace is essential for efficient soldering. Clear any clutter, ensure good lighting, and position your tools within easy reach. Additionally, take the necessary safety precautions by wearing heat-resistant gloves and ensuring there are no flammable materials nearby.
Step 3: Heat up the Soldering Iron
Plug in your soldering iron and allow it to heat up to the appropriate temperature for your project. Refer to the manufacturer's guidelines or adjust the temperature control knob as needed. As a general rule, higher temperatures are required for larger components and thicker wires, while lower temperatures are suitable for delicate components.
Step 4: Tin the Soldering Iron Tip
To improve heat transfer and prevent oxidation, it's important to "tin" the soldering iron tip. This involves applying a small amount of solder to the tip's surface. Hold the iron at a slight angle, melt the solder onto the tip, and then wipe off any excess on a damp sponge or brass wire cleaner. The tip should appear shiny and evenly coated.
Step 5: Prepare the Components
Before soldering, ensure the components are clean and properly aligned. Trim excess leads, strip wires if necessary, and position the components in the desired arrangement. Remember, precision and attention to detail are key.
Step 6: Apply Solder to the Joint
With the soldering iron at the ready, touch the tip to the joint where the component and the circuit board meet. The joint should be heated evenly, allowing the solder to flow and create a strong bond. Avoid applying excessive pressure, as it can damage the component or create solder bridges.
Step 7: Allow for Cooling and Inspection
After soldering a joint, allow it to cool naturally without any disturbance. Take a moment to inspect the joint visually. A good solder joint should appear shiny, smooth, and evenly distributed. If needed, touch up any imperfections or excess solder.
Step 8: Clean the Soldering Iron Tip
Regularly cleaning the soldering iron tip helps maintain its performance. Wipe the tip on a damp sponge or brass wire cleaner to remove any accumulated solder or debris. Remember to tin the tip again before resuming soldering.
 WhatsApp