
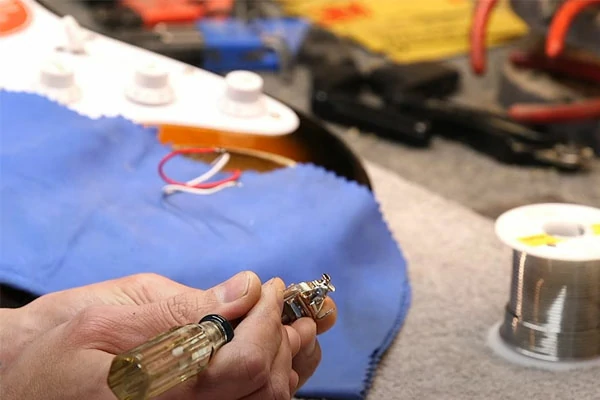
Soldering, though intimidating at first, is a valuable skill to have when it comes to maintaining and customizing your guitar. If you're ready to tackle your first soldering project by replacing the input jack on your guitar, you're in the right place. In this step-by-step article, we'll guide you through the process and offer tips to ensure your success, even if you're a soldering novice.
What You'll Need:
Soldering station: Opt for AiXun T3B / T3BS, ideal for small electronics work.
Solder wire: Common choices include 60/40 or 63/37 lead-tin solder.
Heat shrink tubing or electrical tape: These are optional but recommended for insulation.
Wire stripper or cutter: Essential for preparing the wires.
A new guitar input jack: Make sure it's compatible with your guitar.
Safety glasses: Protect your eyes from hot solder.
Step 1: Safety First
Before you start, make sure you're working in a well-ventilated area. Put on your safety glasses to protect your eyes from hot solder splatters.
Step 2: Prepare the Wires
If your guitar input jack has two wires (one for the tip and one for the sleeve), use a wire stripper or cutter to strip about 1/4 inch (6 mm) of insulation from the wire ends. If there are additional wires (e.g., for grounding), strip those as well.
Step 3: Tinning the Wires
Tinning involves applying a small amount of solder to each stripped wire end. This helps solder flow better and improves the connection. To tin the wires, follow these steps:
Touch the soldering iron to the wire for a second or two.
Touch the solder to the wire (not the iron). The solder should flow onto the wire.
Allow it to cool and solidify.
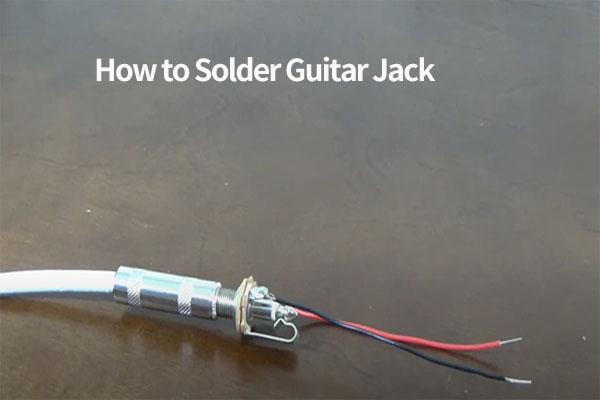
Step 4: Prepare the Input Jack
Insert the wires into the appropriate terminals on the new input jack. Typically, the tip wire goes to the smaller terminal (hot), and the sleeve wire goes to the larger terminal (ground). Consult the documentation or markings on the jack if you're uncertain.
Step 5: Solder the Connections
Follow these steps to solder the connections:
Heat the terminal and wire with your soldering iron.
Touch the solder to the joint (not the iron). The solder should melt and flow smoothly onto the joint.
Be patient; it may take a few seconds for the joint to get hot enough to melt the solder.
Avoid touching the hot solder or iron with your fingers.
Step 6: Inspect and Repeat
Once the solder has cooled and solidified, inspect the joints. They should appear shiny and have a smooth, even texture. If they look dull or lumpy, reheat and add a little more solder as needed.
Step 7: Insulate the Connections
If you have heat shrink tubing, slip it over the soldered connections and use a heat source (like a heat gun or a lighter) to shrink it in place. If not, use electrical tape to insulate the connections.
Step 8: Reassemble Your Guitar
After securing and insulating the connections, reassemble your guitar. Test the input jack to ensure it's functioning correctly.
Soldering is a skill that improves with practice, so don't be discouraged if your first attempt isn't perfect. With time and experience, you'll become more confident and proficient in soldering guitar components. Now that you've successfully replaced your input jack, you're one step closer to mastering guitar maintenance and customization.
 WhatsApp